Install AWS CLI
Install AWS CLI
AWS Command Line Interface (AWS CLI) is available in two versions. To ensure a smooth experience, this guide covers the installation of AWS CLI v2 for Windows and Ubuntu, as it is simpler, more convenient, and feature-complete compared to v1.
- AWS CLI version 1 (AWS CLI v1): The original AWS CLI, still supported by AWS.
- AWS CLI version 2 (AWS CLI v2): The latest version supporting all the newest AWS features. Some features available in v2 are not supported in v1, so upgrading is necessary to use those features.
- Let’s begin by installing the AWS CLI on different platforms.
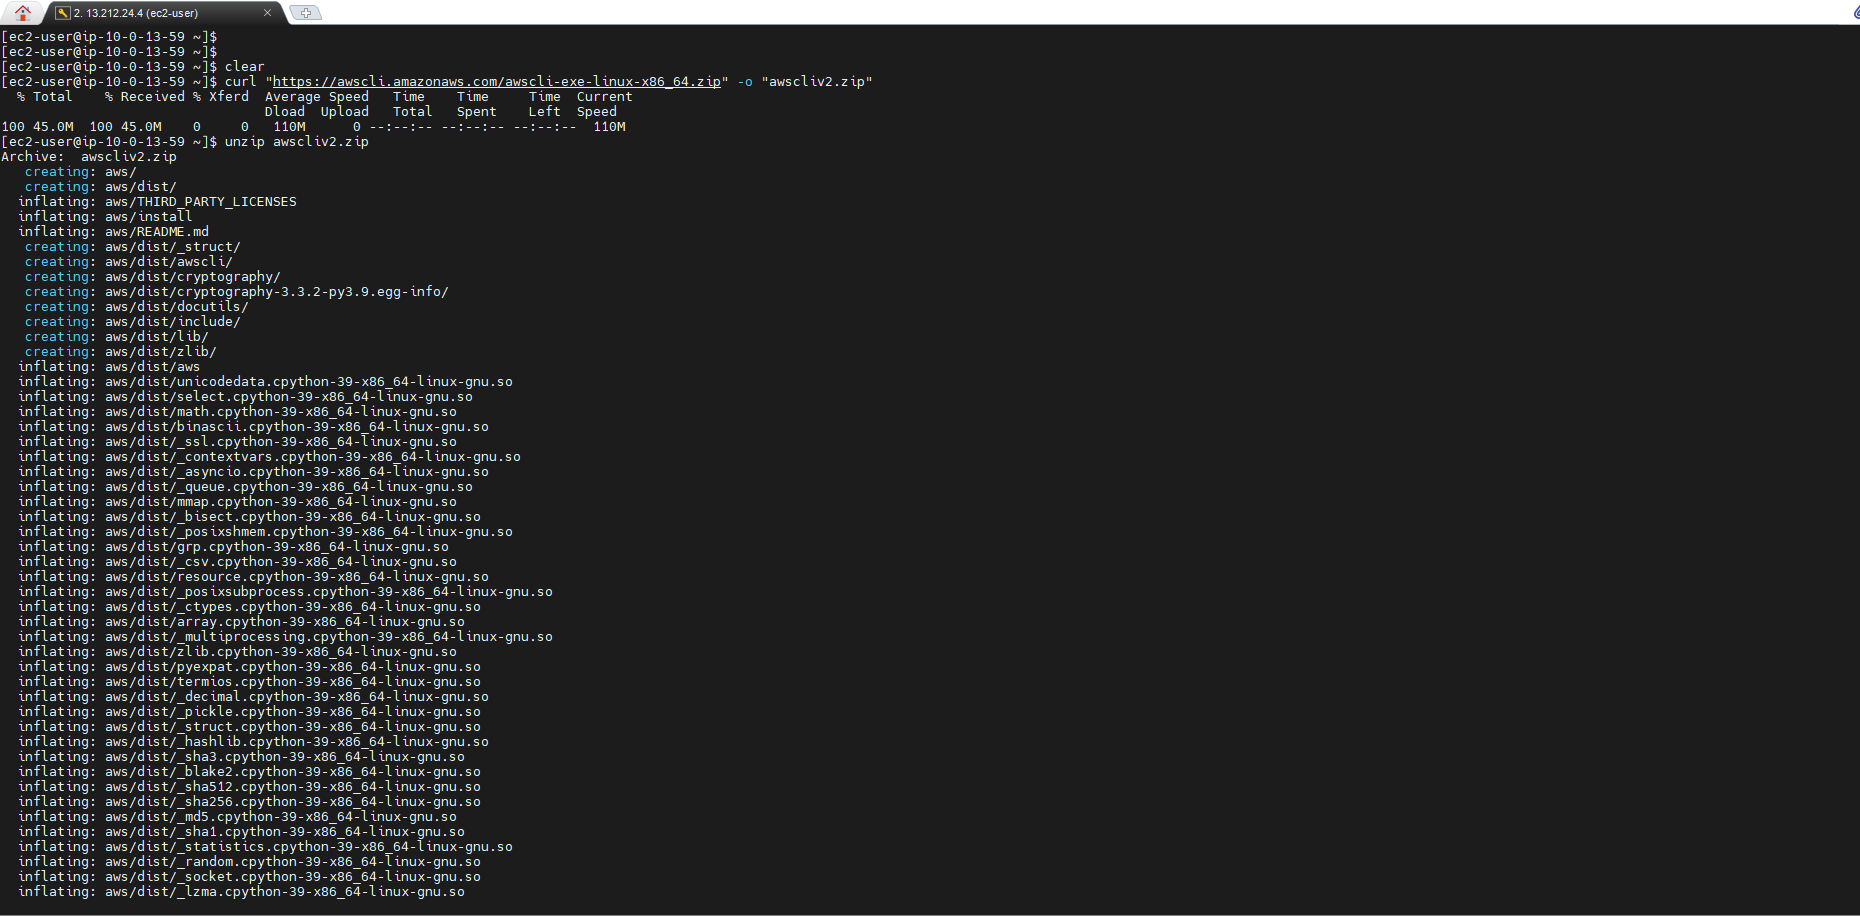
- For Linux:
curl "https://awscli.amazonaws.com/awscli-exe-linux-x86_64.zip" -o "awscliv2.zip"
unzip awscliv2.zip
sudo ./aws/install
- For Windows:
msiexec.exe /i https://awscli.amazonaws.com/AWSCLIV2.msi
- For MacOS:
sudo ln -s /folder/installed/aws-cli/aws /usr/local/bin/aws
sudo ln -s /folder/installed/aws-cli/aws_completer /usr/local/bin/aws_completer
- Verify that AWS CLI is installed:
aws --version

Create Default Profile
-
Use the
aws configurecommand to set up the AWS CLI. This is the fastest way to configure it. You will be prompted for the following details:- Access key ID
- Secret access key
- AWS Region
- Output format (e.g., JSON)
aws configure
AWS Access Key ID [None]: *AKIAIOSFODNN7EXAMPLE*
AWS Secret Access Key [None]: *wJalrXUtnFEMI/K7MDENG/bPxRfiCYEXAMPLEKEY*
Default region name [None]: *ap-southeast-1*
Default output format [None]: *json*

The AWS CLI stores this information in a profile named default in the credentials file. This profile is used when no specific profile is specified.
Create Custom Profile
- To configure multiple profiles, create another profile (e.g., devops).
aws configure --profile devops

The access key (Access Key ID and Secret Access Key) is used to authenticate requests to AWS.
- Verify that the profile is configured:

Manage Multiple Profiles
- Check the configuration of CLI credentials:
cd ~/.aws/
ls
cat config

- You can also verify the region for a specific profile:
aws configure get region --profile devops

- List the current configuration:
aws configure list

- List all profiles:
aws configure list-profiles

You can add or edit profiles directly by editing the config and credentials files using a text editor.